 Save
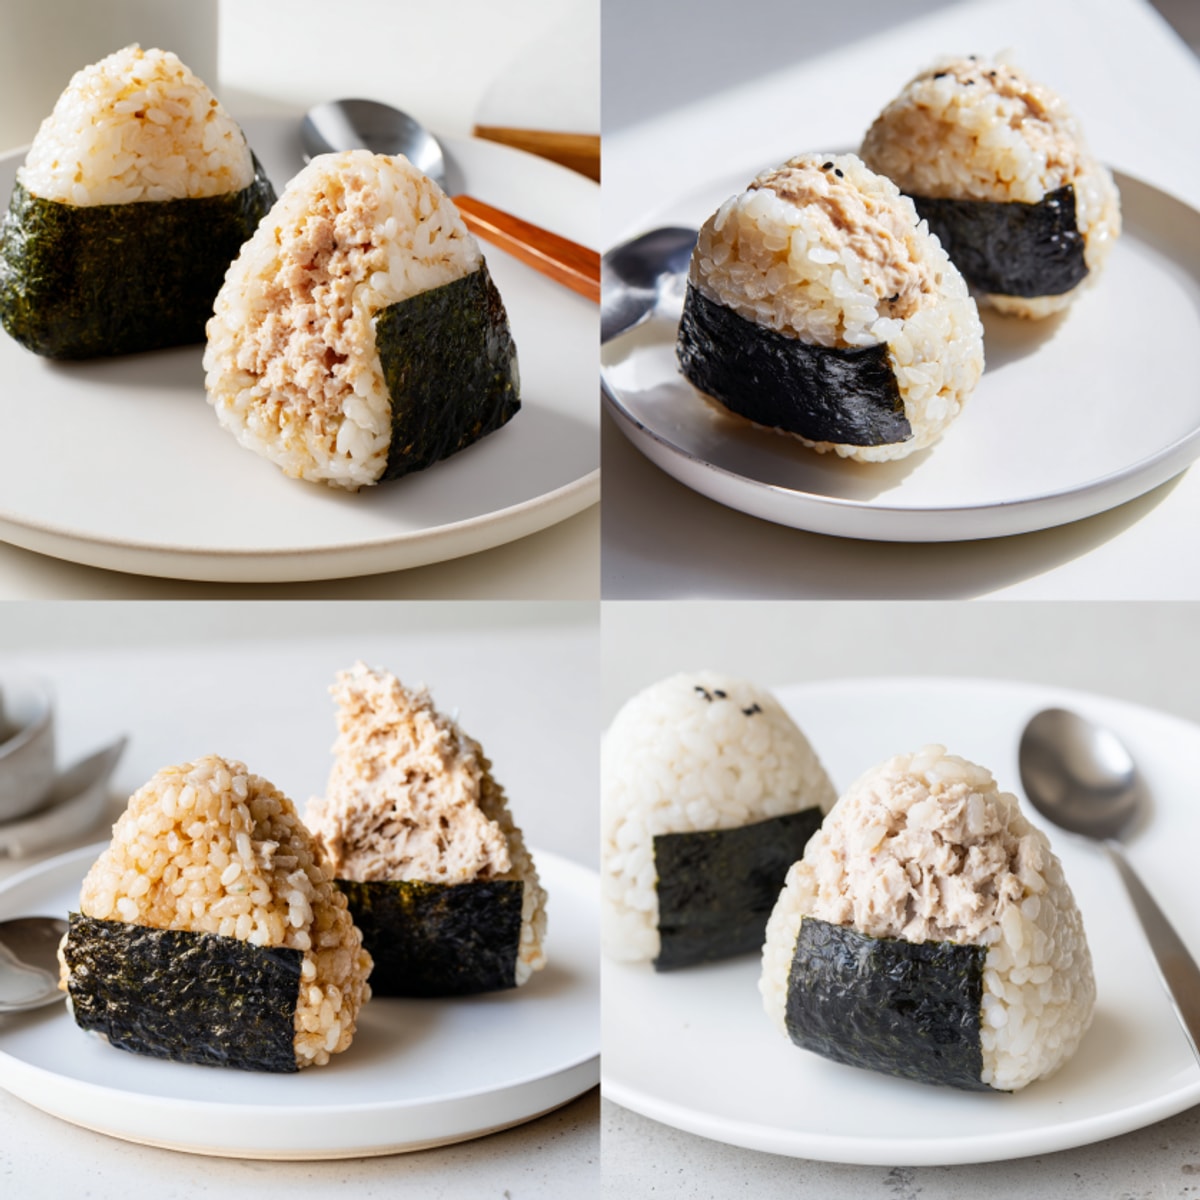
Save These tuna rice balls bring together savory creamy tuna with pillowy Japanese rice and a crisp strip of nori for a satisfying handheld snack or light meal They are perfect for quick lunches bento boxes road trips or that mid-afternoon hunger pang
When my kids started school these became a weekly staple in our lunch routine They have never tired of the creamy tuna surprise inside the soft rice and crisp seaweed
Ingredients
- Japanese short-grain rice: This variety gets sticky and holds its shape beautifully Avoid long grain rice which is too dry
- Water: Use filtered water for clean rice flavor
- Salt: Brings out rice sweetness and seasons your hands for shaping
- Tuna in water: Opt for a high quality tuna that is firm and not too watery Flaked light tuna or solid white both work
- Japanese mayonnaise: Adds umami tang and creamy texture Kewpie brand is classic but regular mayo works
- Soy sauce: Depth and savoriness Choose low sodium if you want less salt
- Lemon juice: Brightens the filling and balances the mayonnaise
- Wasabi paste: Optional but zesty and flavorsome Go for it if you like a gentle warmth
- Nori (dried seaweed): Look for crisp sheets that snap easily Glossy and crisp is key
- Salt: For shaping and seasoning the outside
- Optional upgrades: Sprinkle of scallion or spoon of pickled ginger for extra flavor layers
Instructions
- Prepare the Rice:
- Measure out short grain rice and rinse repeatedly under cold water until it runs totally clear Removes excess starch so grains cook up glossy not gluey Combine rice with the measured water in a rice cooker or sturdy pot Cook using rice cooker's normal settings or bring to a boil on the stovetop then reduce heat to very low cover tightly and steam about fifteen to eighteen minutes Do not disturb Let stand covered ten minutes to finish cooking The rice will be delicate plump and sticky
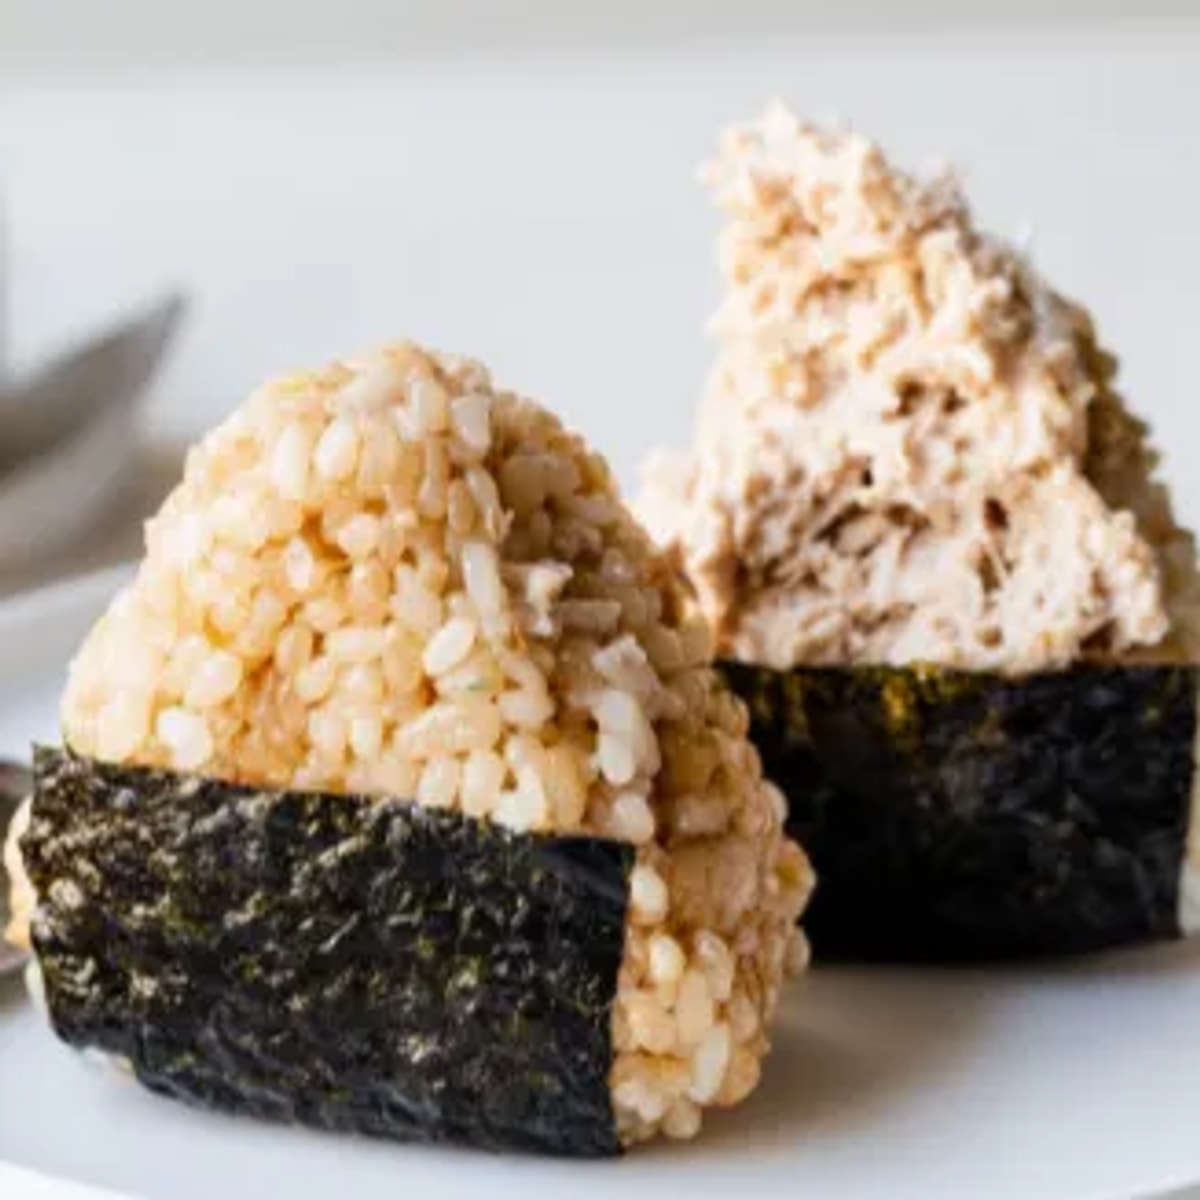
- Mix the Tuna Filling:
- While the rice is cooking open and drain tuna Place in bowl Separate with fork until fluffy Add mayonnaise soy sauce lemon juice and wasabi paste if using Mix until creamy and evenly flavored For zing add extra wasabi or a pinch of black pepper
- Prepare for Shaping:
- Once rice is cooked but cool enough to touch fill a small bowl with clean water scatter in some salt Wet your hands to prevent sticking and rub with pinch of salt This seasons the outer rice as you work
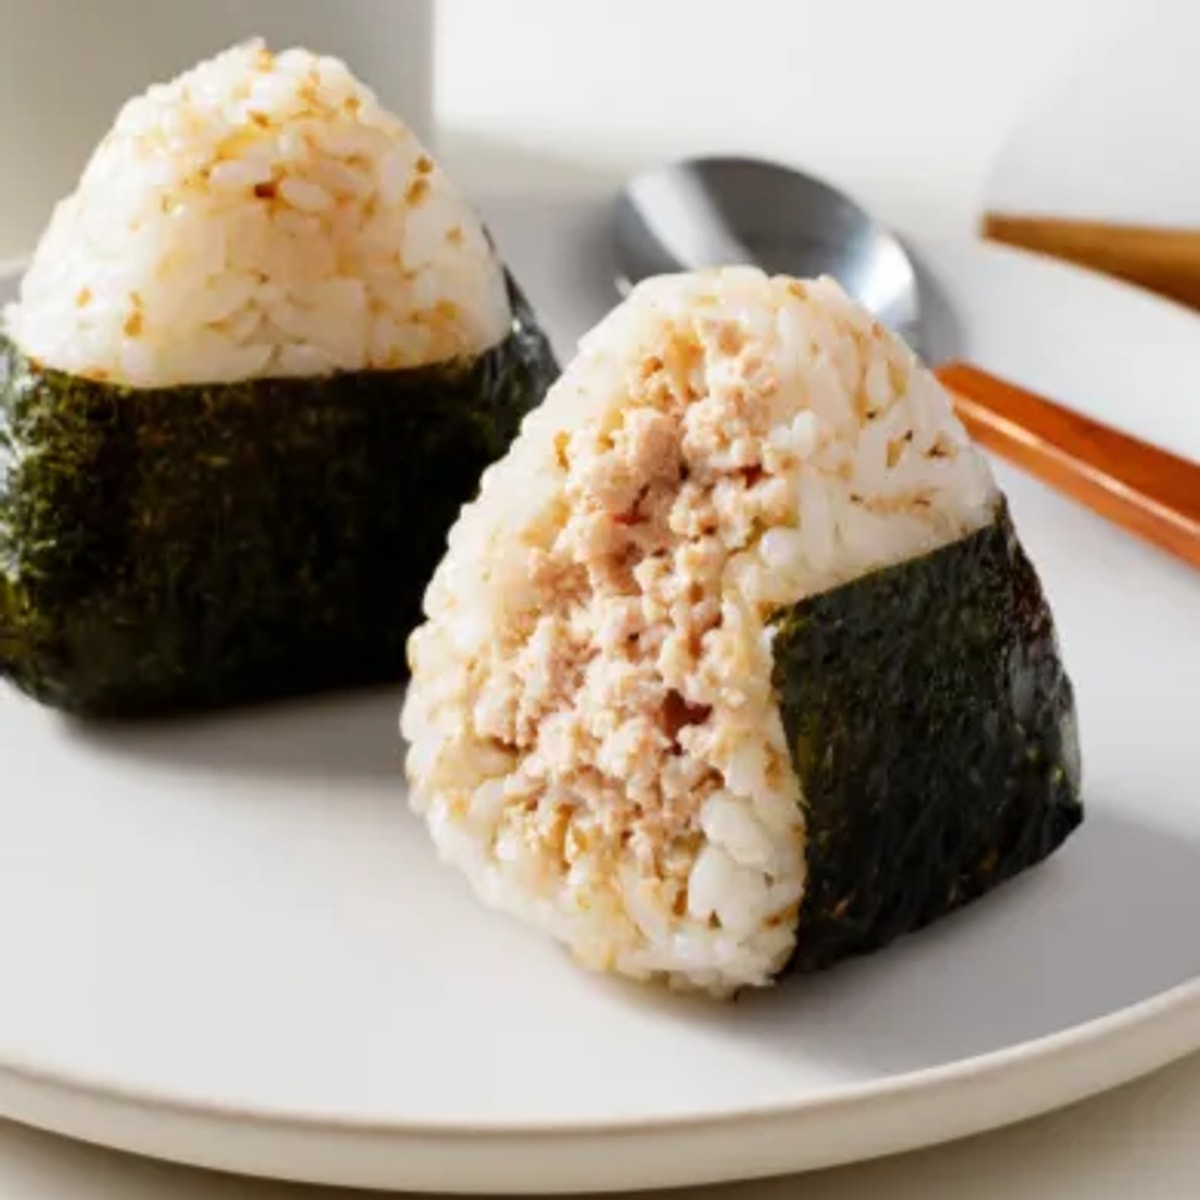
- Shape the Rice Balls:
- Scoop about half a cup of rice into wet palm Flatten into thick disk Spoon tablespoon of tuna filling into center Carefully fold rice up around filling and pinch together Shape firmly but gently into triangle or sphere Don't squeeze too hard or rice will not hold
- Add the Nori:
- Slice nori sheets into strips Wrap one strip around base or side of each rice ball pressing lightly Nori will hug rice as it absorbs moisture
- Repeat and Serve:
- Continue with remaining rice and filling Sometimes last one needs less filling Serve at room temperature or pack immediately for lunchbox To store wrap tightly in plastic wrap or parchment
 Save
Save I love how both my kids and their grandparents call these their comfort food The smell of hot steamed rice always brings me back to quick family picnics in the park growing up
Storage Tips
Tuna rice balls are best eaten fresh but can be refrigerated for up to one day Wrap tightly in plastic or reusable wrap to maintain moisture and keep nori from getting too soggy If prepping ahead keep nori strips separate and wrap just before eating for best crunch
Ingredient Substitutions
Short on Japanese rice Try sushi rice or even leftover arborio rice for similar stickiness If you need to avoid mayo use touch of Greek yogurt for creaminess For vegan use mashed chickpeas with vegan mayo and skip tuna
Serving Suggestions
Serve with little bowl of miso soup and cup of green tea For full bento add apple slices pickled radish or edamame Also delicious with drizzle of spicy sriracha or sprinkle of furikake for authentic touch
Cultural and Historical Context
In Japan onigiri are lunchbox classic and soul food eaten everywhere from trains to hiking trails This recipe follows basic tradition but is endlessly variable with fillings Families pass down their unique tweaks generation after generation
Seasonal Adaptations
Add finely chopped cucumber or radish in summer for crunch Swap in leftover cooked salmon for tuna in springtime Stir little shiso or basil into rice for herbal freshness
 Save
Save Make a big batch for quick lunches or snacks and enjoy the comfort of homemade onigiri wherever you go