 Save
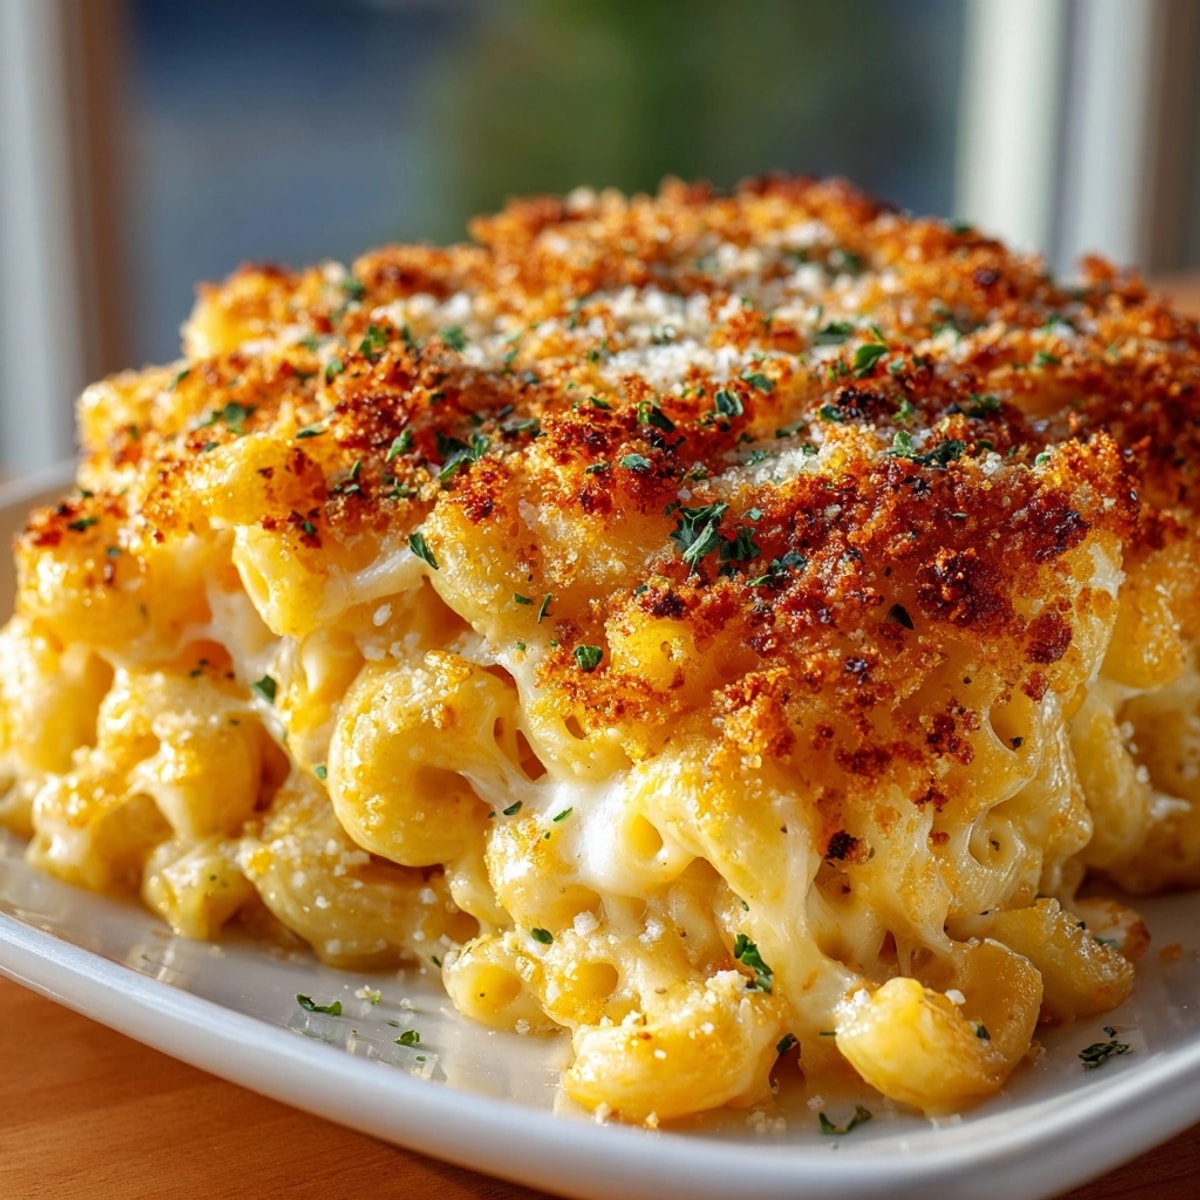
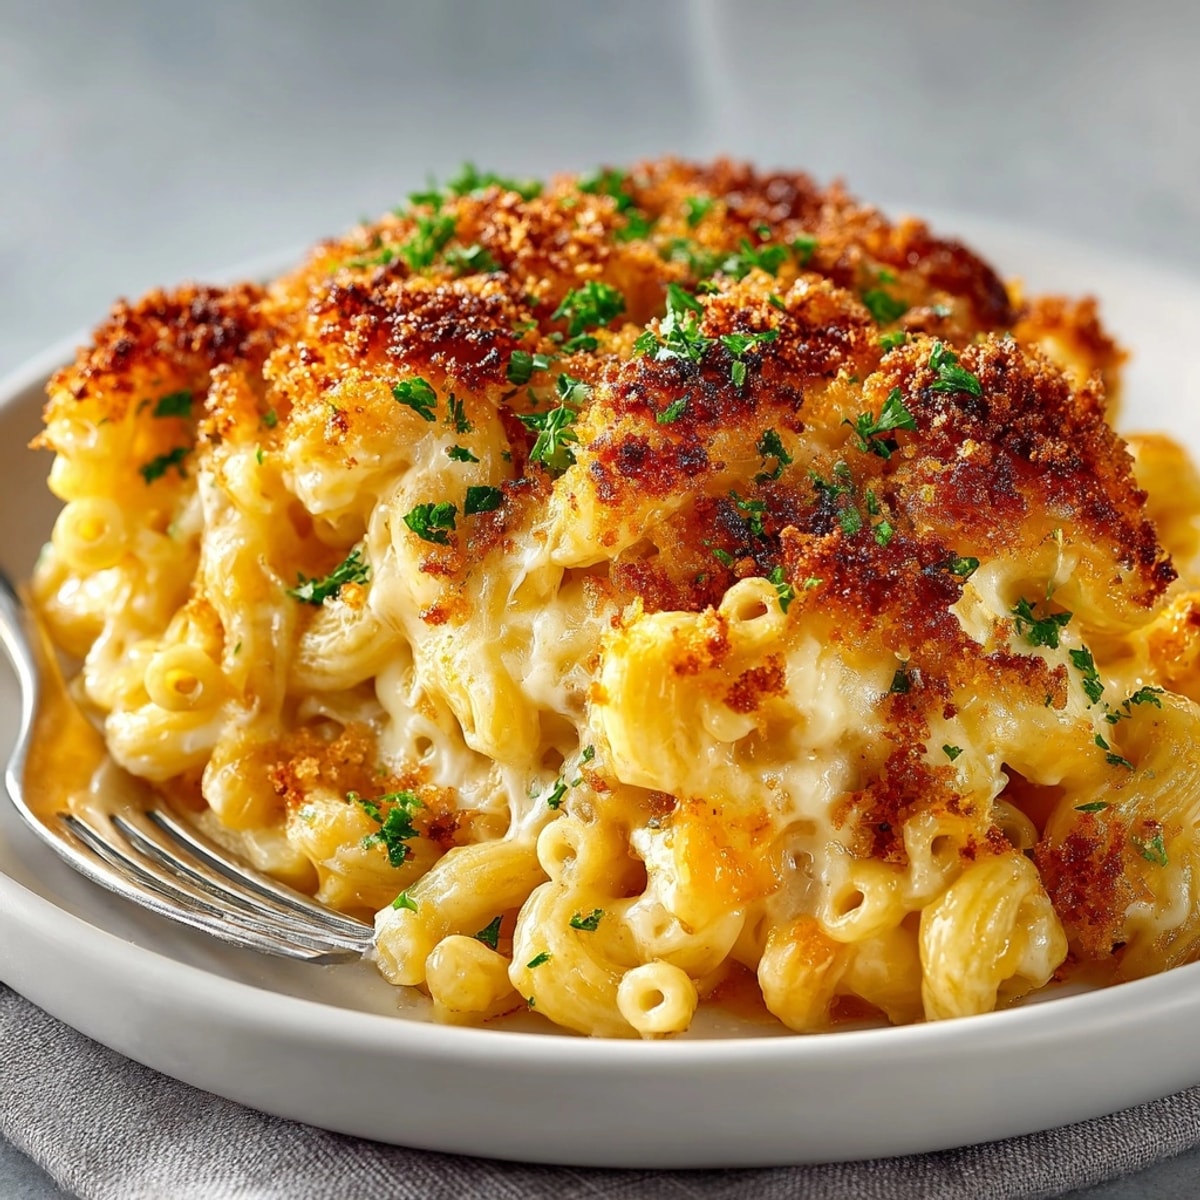
Save This baked macaroni and cheese recipe transforms simple ingredients into the ultimate comfort food masterpiece. With its creamy, cheesy sauce and golden, crunchy topping, it's the perfect balance of gooey interior and crispy exterior that will have everyone coming back for seconds.
I developed this recipe after years of disappointing mac and cheese attempts. After countless trials, this version finally earned my children's seal of approval, and it's now our go-to dish for Sunday family dinners and holiday gatherings alike.
Ingredients
- Elbow macaroni: The classic shape that captures sauce in every bite. Look for quality pasta that holds its shape when cooked.
- Unsalted butter: Creates the base for our roux and adds richness. Using unsalted allows better control of the overall saltiness.
- All-purpose flour: Works with butter to thicken our sauce. Be sure to cook it briefly to remove any raw flour taste.
- Whole milk and heavy cream: The combination creates the perfect creamy base. Don't substitute lower-fat options as they won't deliver the same luxurious texture.
- Sharp cheddar cheese: Provides that classic mac and cheese flavor with a slight tang. Always buy blocks and grate yourself for the smoothest sauce.
- Mozzarella cheese: Adds incredible stretch and meltability to balance the cheddar's sharpness.
- Garlic and mustard powders: These subtle flavor enhancers deepen the cheese flavor without overwhelming it.
- Breadcrumbs: Creates that irresistible golden topping. Panko works best for extra crispiness.
- Parmesan cheese: Adds a nutty, salty finish to the topping that browns beautifully.
Instructions
- Prepare the Pasta:
- Cook your elbow macaroni in generously salted water until just underdone, about 1-2 minutes less than package directions. This is crucial because the pasta will continue cooking in the oven. Drain thoroughly but don't rinse to help the sauce adhere better.
- Create the Cheese Sauce Base:
- Melt butter in a large, heavy-bottomed saucepan over medium heat until foaming. Sprinkle in flour and whisk continuously for 1-2 minutes until it forms a pale golden paste. This roux is the foundation of your cheese sauce, so take care not to brown it too much or skip this cooking step.
- Develop the Sauce:
- Gradually add the warmed milk and cream to your roux, whisking constantly to prevent lumps. This gradual addition is key to a smooth sauce. Continue cooking and stirring for 4-5 minutes until the mixture coats the back of a spoon.
- Add Flavor and Cheese:
- Rermove the pot from heat before stirring in your seasonings and cheeses. The residual heat will melt the cheese without risking separation. Fold gently until completely smooth and velvety. Taste and adjust seasonings as needed.
- Combine and Prepare for Baking:
- Gently fold the drained pasta into your cheese sauce, ensuring every noodle is generously coated. Transfer this mixture to your prepared baking dish, spreading it evenly to ensure consistent baking.
- Create the Crispy Topping:
- Mix your breadcrumbs with melted butter and Parmesan until evenly moistened. This fat helps the topping become golden and crispy. Sprinkle this mixture evenly across the top of your mac and cheese for a consistent crust.
- Bake to Perfection:
- Bake uncovered at 375°F for exactly 25-30 minutes, until the edges are bubbling and the top is a beautiful golden brown. Let it rest for 5 full minutes before serving to allow the sauce to set slightly.
 Save
Save My absolute favorite part of this recipe is the contrast between the creamy interior and the crispy topping. I still remember the first time I nailed this recipe after so many attempts. My daughter, who normally picks at her dinner, asked for seconds and even requested the leftovers in her lunch the next day. That moment cemented this as our family's signature dish.
Make-Ahead Options
This mac and cheese is perfect for busy schedules. You can prepare the entire dish up to the baking stage, cover tightly with foil, and refrigerate for up to 2 days. When ready to serve, allow it to sit at room temperature for 30 minutes before baking. You may need to add about 10 minutes to the baking time if starting from cold. The flavors actually develop beautifully during the wait.
Cheese Selection Guide
While cheddar and mozzarella create the perfect balance, this recipe welcomes customization. For a more sophisticated flavor profile, try substituting some of the cheddar with Gruyère or fontina. For a sharper bite, add a bit of crumbled blue cheese. Smoked gouda adds wonderful depth without overwhelming the classic flavor. Just remember to maintain the same total cheese quantity to preserve the sauce consistency.
Creative Add-Ins
Transform this classic into something special with thoughtful additions. Fold in crispy bacon pieces or diced ham for a meaty variation. Caramelized onions add wonderful sweetness. For a veggie boost, add blanched broccoli florets, roasted cauliflower, or sautéed mushrooms. Fold these additions in gently just before baking to maintain their texture and flavor.
Serving Suggestions
This mac and cheese stands proudly as a main dish alongside a simple green salad with vinaigrette. As a side, it pairs beautifully with grilled meats, especially BBQ chicken or a nice steak. For holidays, it's an unexpected but welcome addition to the traditional spread. Garnish with fresh chives or parsley just before serving for a pop of color and freshness.
 Save
Save Always start with all ingredients at room temperature for the smoothest sauce. For extra flavor, infuse your milk with a bay leaf and onion while warming. If the sauce seems too thick before baking, add a splash more milk as it will thicken further in the oven. For an extra crispy topping, place under the broiler for the final 1-2 minutes, watching carefully.
Recipe FAQ
- → What pasta is best for this dish?
Elbow macaroni is most commonly used, as its shape holds the creamy sauce well, but any short pasta works.
- → Can other cheeses replace cheddar or mozzarella?
Yes, try Monterey Jack, Gruyère, or a blend for different flavors and melting qualities.
- → How do I prevent a grainy cheese sauce?
Shred your own cheese and melt it off the heat to avoid clumping from additives in pre-shredded cheese.
- → Is it possible to make ahead?
Assemble ahead and refrigerate. Bake before serving, adding a few extra minutes to the baking time as needed.
- → How can I achieve a thicker crunchy topping?
Use extra breadcrumbs or a mix of panko and crushed crackers for more texture on top.
- → Can leftovers be frozen and reheated?
Yes, cool completely before freezing. Reheat covered in the oven for best results.