 Save
Save I still remember the December morning my grandmother pulled a gingerbread house frame from her oven, the scent of molasses and cinnamon filling her small kitchen. She'd made one every year since I was small, and I'd always been mesmerized by how she transformed simple dough into an edible centerpiece that turned an ordinary holiday table into something magical. This year, when she taught me to build one myself, I understood it wasn't just about the baking—it was about creating a moment where everyone gathered around something warm and beautiful.
The first time I assembled my own house frame, my hands were shaking slightly as I piped the royal icing, terrified the whole thing would collapse. My grandmother stood beside me, not correcting, just watching, until I realized the icing was holding firm and my worry melted into joy. When my family saw it on the table that evening, surrounded by cookies and treats, their faces lit up in a way that made every careful moment worthwhile.
Ingredients
- All-purpose flour, 300 g: This is your dough's foundation—it provides structure so your gingerbread panels hold their shape and don't spread during baking. I've learned that measuring by weight rather than volume gives you the most consistent results.
- Brown sugar, 100 g: It brings warmth and depth that white sugar never quite captures, creating that distinctive gingerbread color and a subtle molasses note that makes people pause and ask what's in it.
- Unsalted butter, 100 g softened: Softening it before you start makes the creaming process so much easier, and it ensures your dough mixes evenly without any tough spots.
- Molasses or dark honey, 100 g: This is the soul of gingerbread—molasses gives that dark, almost mysterious flavor, but if you can't find it, dark honey works beautifully and adds a gentler sweetness.
- Large egg, 1: It binds everything together and gives the baked panels a subtle richness that keeps them tender even days later.
- Ground ginger, cinnamon, and cloves, 1 tsp plus 1 tsp plus ½ tsp: These spices are what make gingerbread sing—they're warm, they're welcoming, and they fill your entire kitchen with a scent that announces the holidays better than any decoration.
- Baking soda, ½ tsp: It's the quiet helper that makes your dough rise just enough to be tender without becoming cake-like.
- Salt, ¼ tsp: A small amount anchors all those spices and keeps them from becoming overwhelming.
- Egg white, 1 and powdered sugar 200 g for royal icing: Royal icing is your edible glue and your canvas for decoration—it hardens to become structural, which is why it's the traditional choice for gingerbread houses.
- Lemon juice, ½ tsp: It brightens the icing slightly and prevents it from becoming too sweet while thinning it just enough to pipe smoothly.
- White chocolate, 50 g melted: For drizzling delicate lines across your house, it creates beautiful contrast against the brown gingerbread and catches the light like freshly fallen snow.
- Assorted candies: This is where you personalize your creation—use whatever brings you joy, whether that's chocolate buttons, white sprinkles, mini marshmallows, or candies that match your kitchen's colors.
Instructions
- Cream your butter and brown sugar:
- In a large bowl, beat the softened butter with brown sugar until the mixture is pale and fluffy, almost like a cloud. This usually takes about 2 to 3 minutes with an electric mixer. You're incorporating air into the butter, which will help your gingerbread bake tender.
- Incorporate the wet ingredients:
- Add the egg and molasses to your butter mixture, beating until everything is well combined and the color deepens. This is when your kitchen will start to smell like the holidays.
- Combine your dry ingredients:
- In a separate bowl, whisk together the flour, ginger, cinnamon, cloves, baking soda, and salt. Whisking them together ensures the spices are evenly distributed throughout—no surprise pockets of too much clove hiding in one corner of your dough.
- Bring the dough together:
- Gradually add the dry ingredients to the wet mixture, stirring until a smooth dough forms. It should feel soft but not sticky, and should come together without any flour streaks remaining.
- Chill the dough:
- Wrap your dough in plastic wrap and place it in the refrigerator for at least 30 minutes. This is a gift to your future self—cold dough is easier to work with, holds its shape better during baking, and bakes into crispier, more flavorful panels.
- Heat your oven and prepare:
- Preheat to 180°C (350°F) and line your baking sheet with parchment paper. This prevents sticking and makes cleanup infinitely easier.
- Roll and cut your house panels:
- On a lightly floured surface, roll your dough to about 5 mm thickness—thin enough to be crispy, thick enough to hold structure. Using a template makes this so much easier. Cut out your panels for the front, back, two sides, and roof pieces. Aim for panels about 10 to 12 cm across.
- Bake until firm:
- Place your pieces on the prepared sheet and bake for 10 to 12 minutes, watching until the edges are just firm to the touch but not dark. The centers should still be slightly soft when they come out—they'll continue cooking slightly as they cool and will firm up completely on the wire rack.
- Cool completely:
- Let the panels rest on a wire rack until they're room temperature and completely firm. This is not a step to rush—if you try to assemble with warm panels, they'll be too flexible and your walls might lean.
- Make your royal icing glue:
- Beat an egg white to soft peaks, then gradually add the sifted powdered sugar and lemon juice, beating until the icing is thick and glossy. If you're piping it, you want it thick enough to hold peaks. If it seems too stiff, add another tiny squeeze of lemon juice.
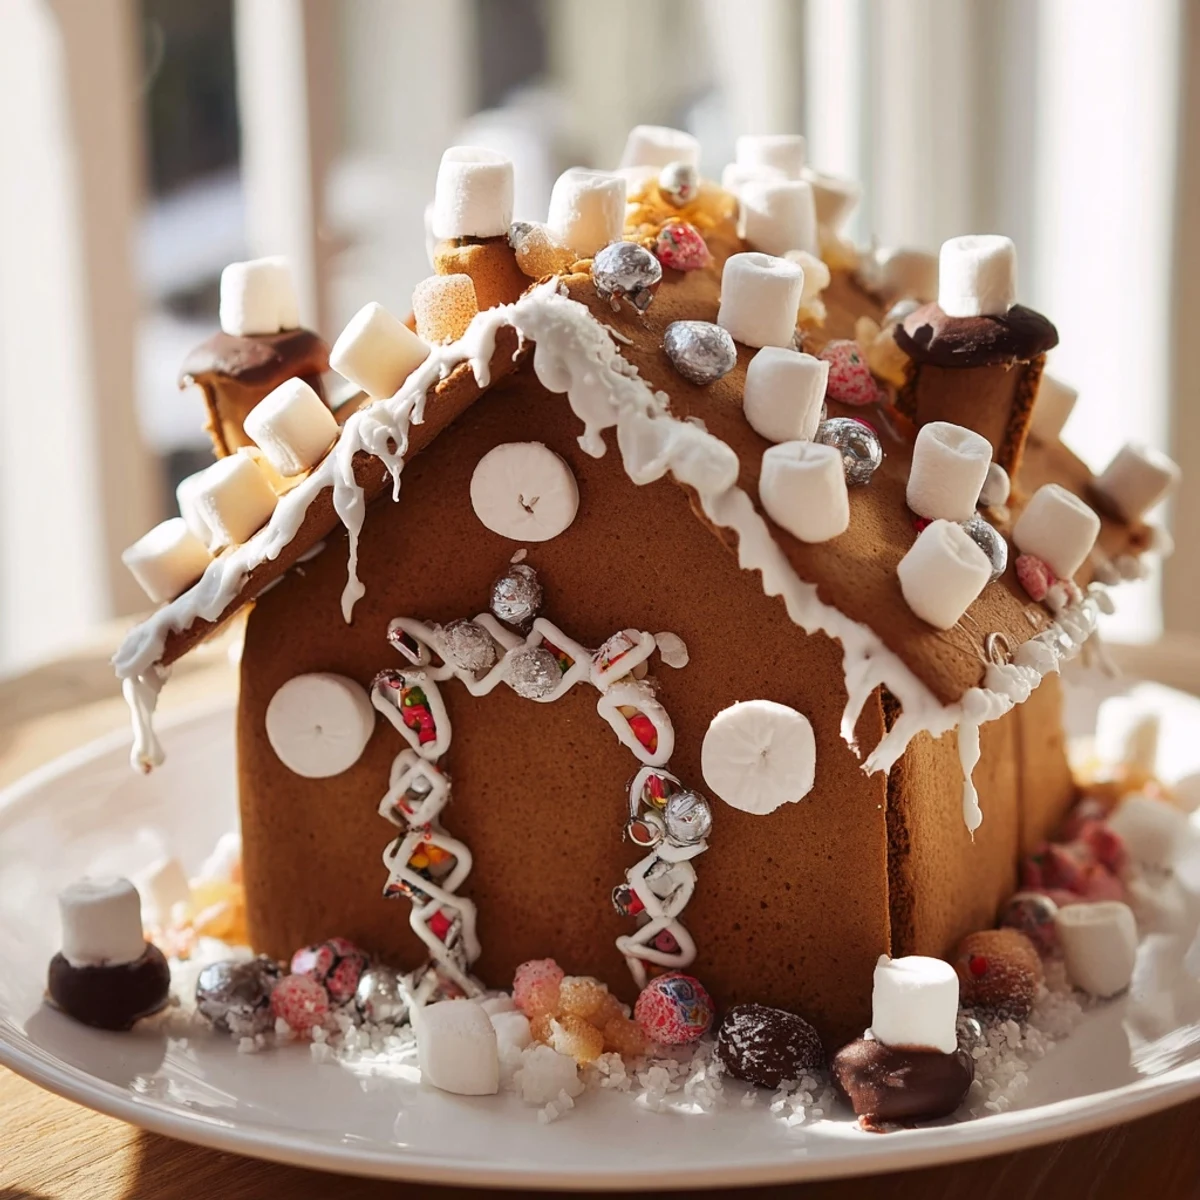
- Assemble your house frame:
- Using royal icing as your edible glue, pipe a line of icing along the edges where panels meet. Press them together gently and hold briefly until the icing begins to set. Work deliberately but not frantically—you have a few minutes before each joint becomes immovable. Allow the assembled frame to dry fully, at least 30 minutes, before decorating.
- Decorate with intention:
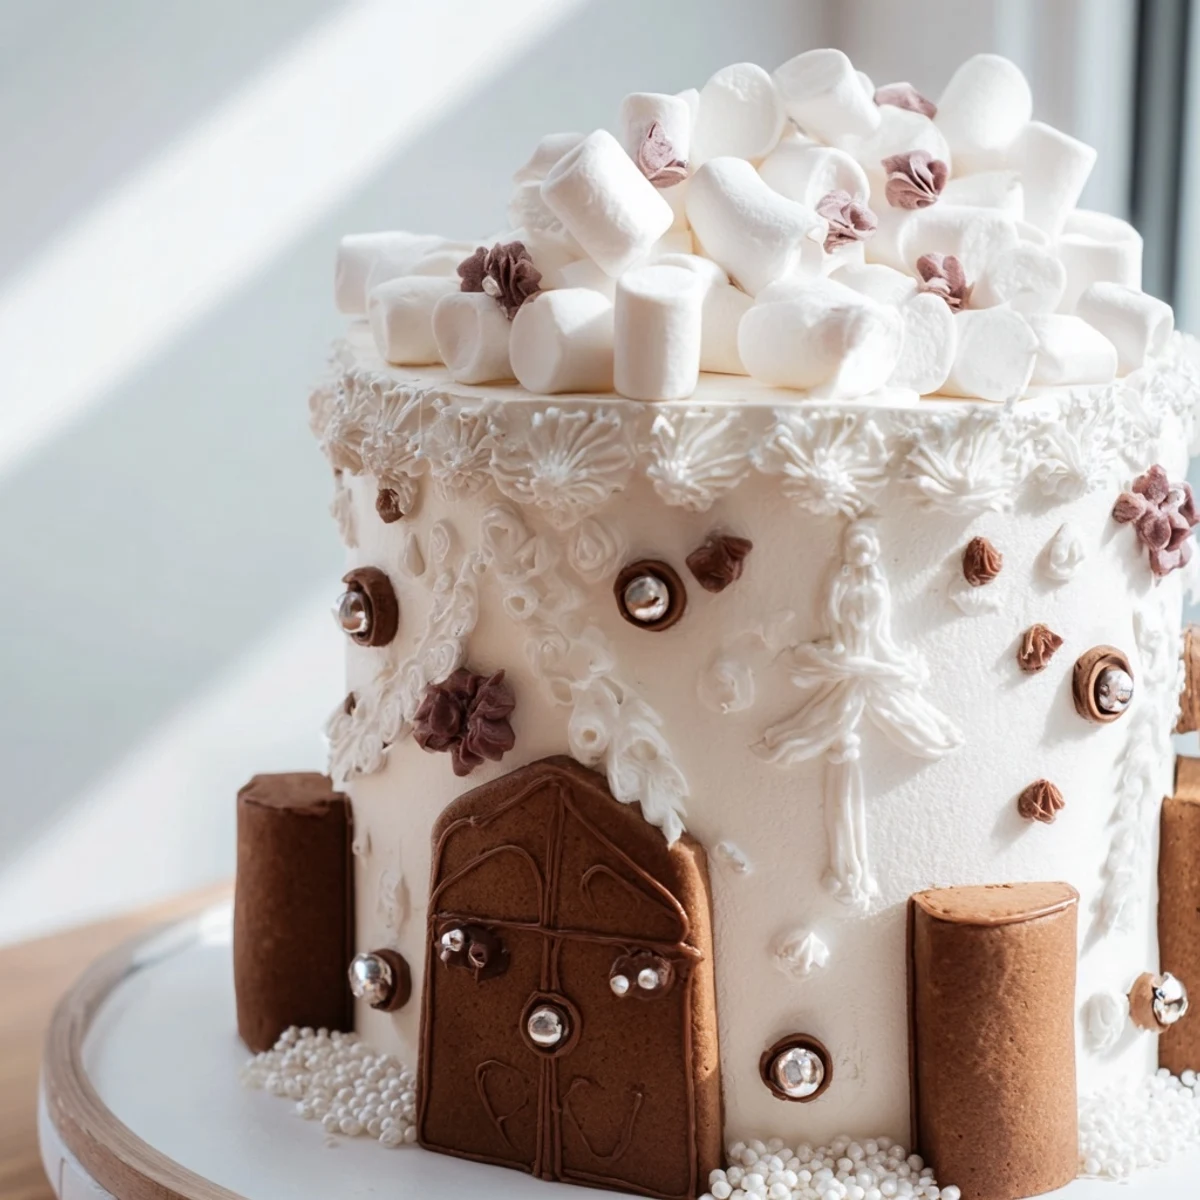
- Pipe white chocolate in delicate drizzles across your panels, then use more royal icing to attach candies, sprinkles, and marshmallows wherever they look festive. Trust your eye—there's no wrong way to decorate your creation.
- Complete the presentation:
- Once everything is set, place your finished gingerbread house frame on a serving platter. Arrange additional cookies, nuts, or holiday treats around and inside the frame to create a beautiful edible border.
 Save
Save Years later, I still think about that moment when my daughter placed a candy on the roof of her own gingerbread house frame for the very first time, concentrating so hard her tongue peeked out slightly. She'd made something that would be eaten and gone in days, and yet it mattered to her with the intensity only children seem to possess. That's when I understood what my grandmother knew all along—gingerbread houses aren't about lasting forever; they're about the time spent creating something beautiful together.
Why This Becomes a Tradition
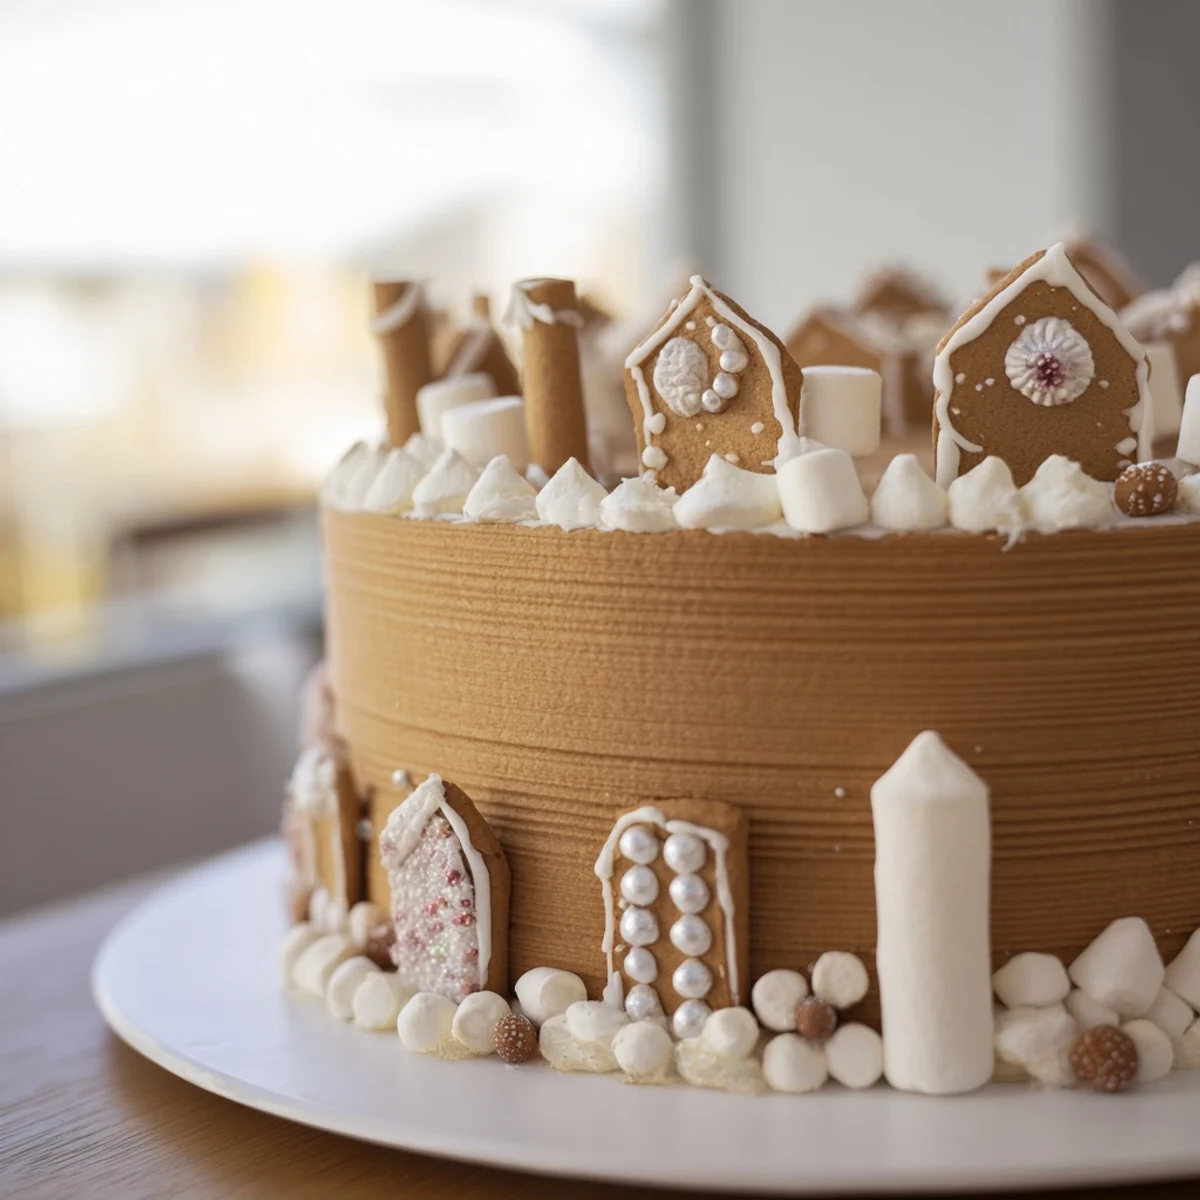
There's something about building a gingerbread house that transforms an ordinary baking afternoon into an event. Maybe it's because it requires patience and care, or maybe it's because the finished creation is so visibly, triumphantly yours. Unlike a cake that's cut and consumed, a house frame stays whole on the table, presiding over the meal like an edible monument to effort and creativity. Guests will ask about it, reach for the candies dotting its panels, and ask for the recipe. Your kitchen will smell incredible for days, and the memory of making it together lingers far longer than the eating does.
Making It Your Own
The beauty of this project is that it invites personalization at every step. Add cocoa powder to the dough if you want a deeper, nearly black-brown color. Use different candies than what I've suggested—work with what brings you joy or what you have in your kitchen. If you're decorating for a specific color scheme or celebration, let that guide your candy choices. Some years you might make two smaller frames instead of one large one, or build it in a different shape entirely. The framework stays the same, but the expression becomes entirely yours.
Serving and Storage
This gingerbread house frame is designed to be a centerpiece that lasts, which means you can build it a few days before your gathering and keep it sealed in a cool, dry place until you're ready to display it. After the celebration, the individual gingerbread panels will stay fresh and delicious for about a week if wrapped airtight, making them perfect for snacking or crumbling into ice cream. The house itself, once disassembled, yields something like six generous servings of gingerbread that's even more delicious the next day.
- Pair it with mulled wine or hot chocolate for the coziest possible holiday moment
- Build it alongside other baking so your oven time is efficient and your kitchen stays warm
- Let children decorate their own small sections—it makes the creation feel collaborative and gives them ownership of the final result
 Save
Save Making a gingerbread house frame isn't about achieving perfection—it's about showing up in your kitchen, mixing warm spices into soft butter, and creating something that makes your table feel festive and your home feel lived-in. Every house frame I've ever made has been a little different, a little imperfect, and absolutely beloved.
Recipe FAQ
- → How should I prepare the dough for the house frame?
Combine softened butter and brown sugar until fluffy, add molasses and egg, then gradually mix in flour and spices to form a smooth dough. Chill before rolling out.
- → What is the best way to ensure sturdy panels?
Bake the panels until edges are firm but not overly browned. For extra strength, bake a day ahead and store airtight before assembling.
- → How can I decorate the frame attractively?
Use royal icing to attach white chocolate drizzles and a variety of candies like sprinkles and mini marshmallows. Add edible glitter for a festive finish.
- → Can I substitute ingredients for dietary needs?
Royal icing can be replaced with vegan alternatives, and adding cocoa powder to the dough enriches color without affecting texture.
- → What tools are recommended for assembly?
Use a rolling pin for even dough thickness, a gingerbread template or knife for cutting, and piping bags to apply royal icing smoothly during assembly.
- → How should I serve the house frame?
Place it around a platter filled with cookies, nuts, or other holiday treats to create a decorative and edible holiday border.